

Install the plugin
Install ChangeTrace from the WordPress plugin directory, or upload it manually.
ChangeTrace is a free plugin in the WordPress.org directory. Installing it changes nothing on your site and sends nothing anywhere — collection only begins once you connect it in the next step.
From the WordPress admin
Search for it
Go to Plugins → Add New and search for ChangeTrace.
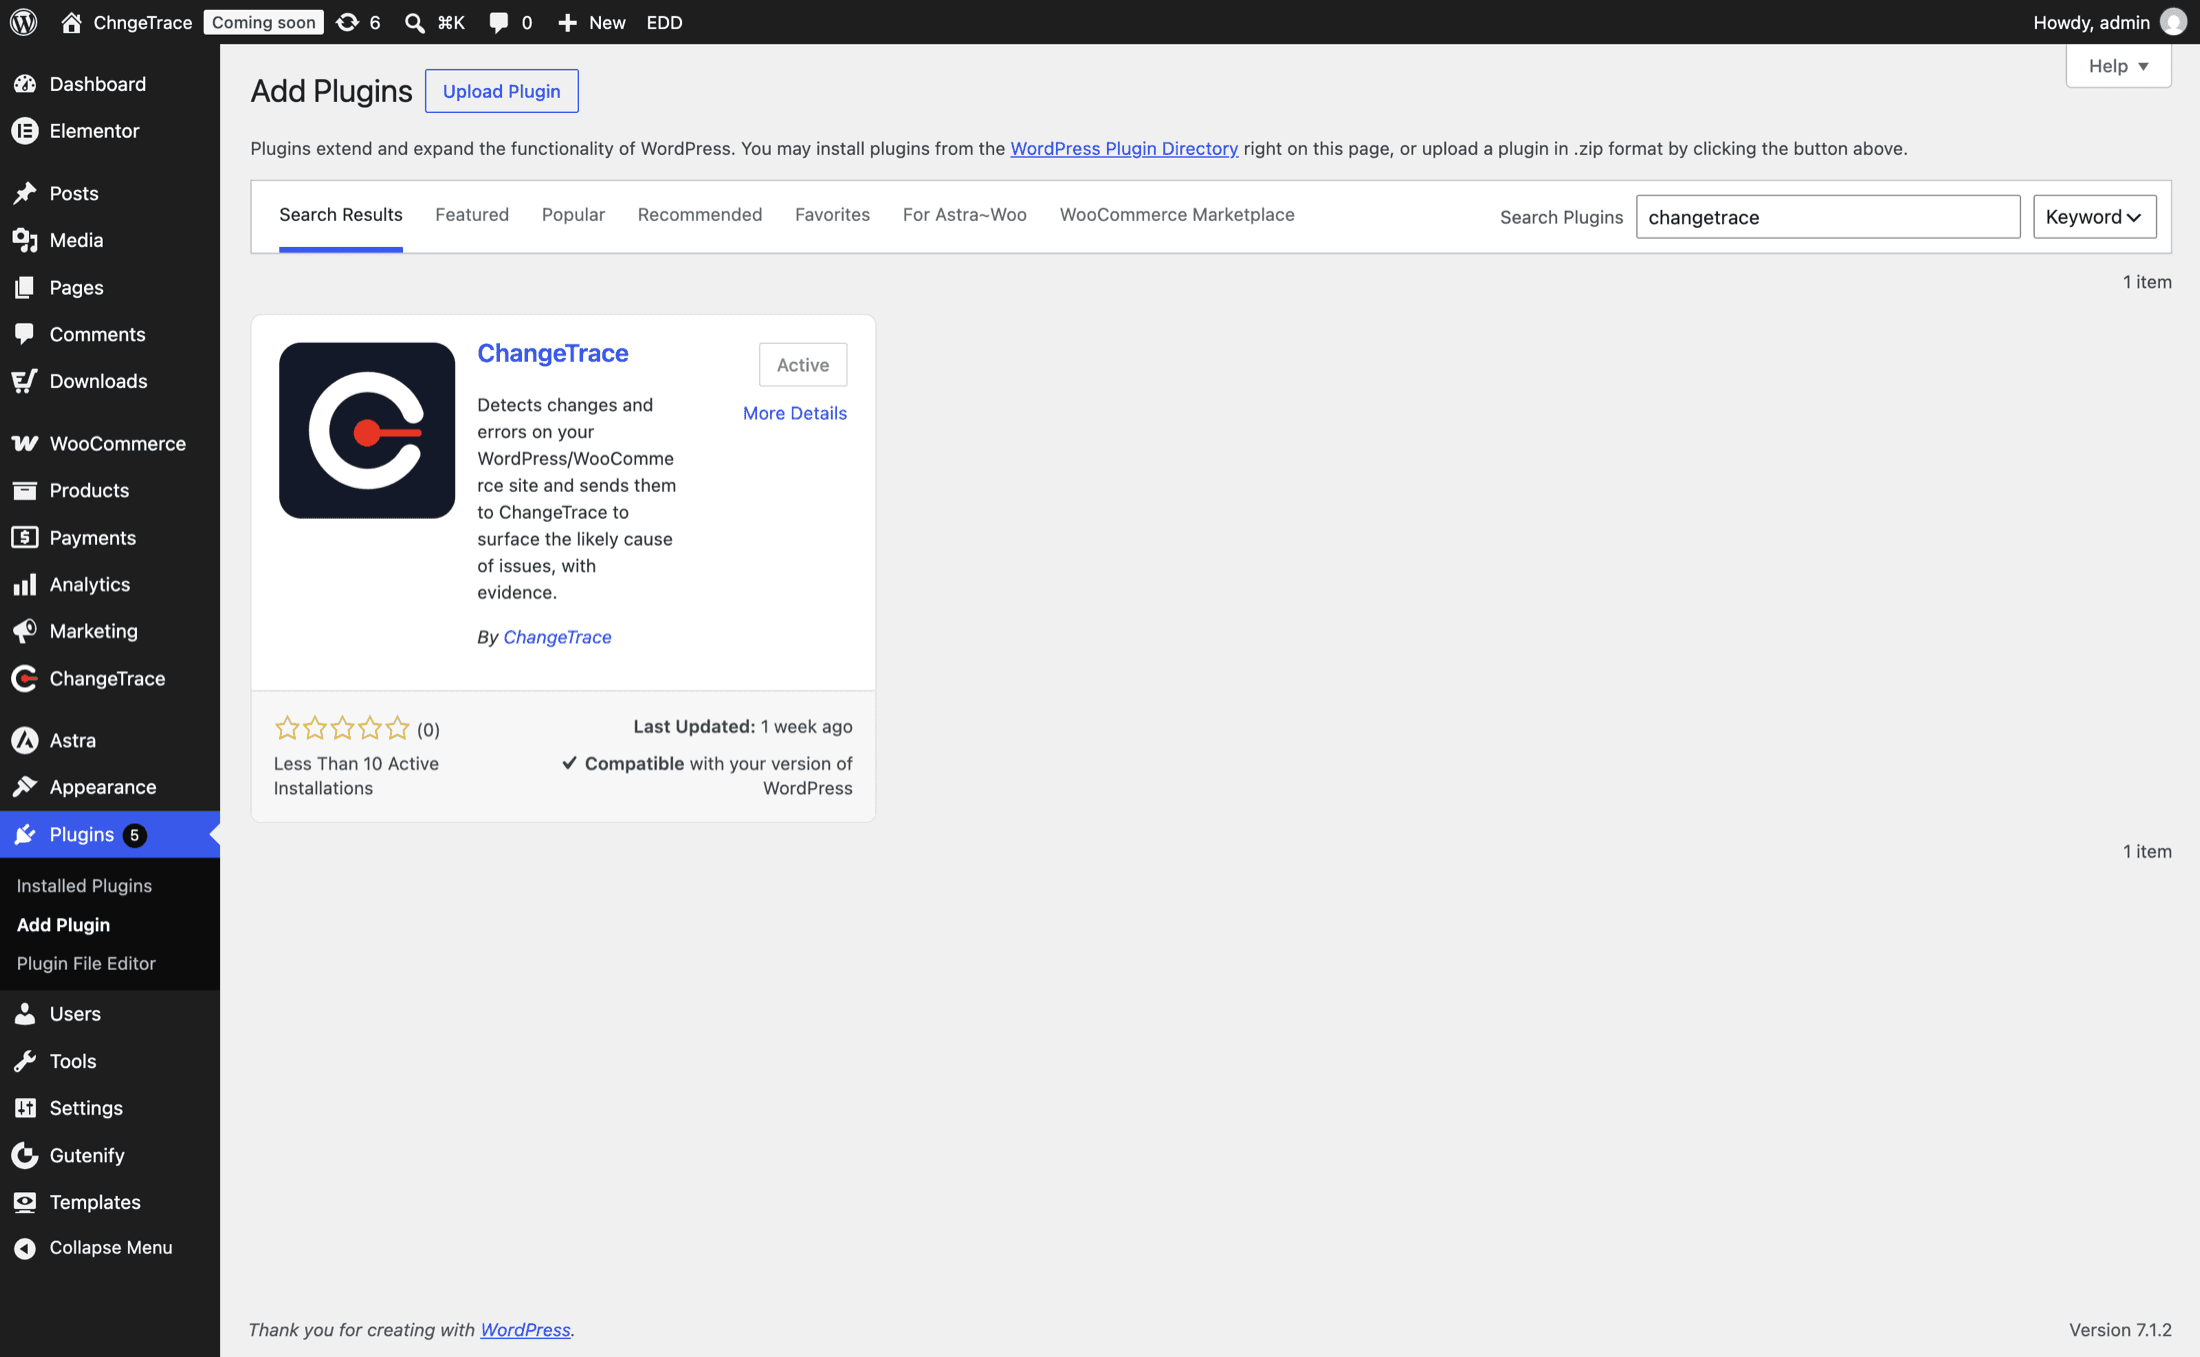
Install and activate
Click Install Now, then Activate.
WordPress redirects you straight to the ChangeTrace screen. If it does not — for example because you activated several plugins at once — find ChangeTrace in the admin sidebar.
Manual upload
If your host blocks the plugin installer, download the ZIP from wordpress.org/plugins/changetrace and either:
- go to Plugins → Add New → Upload Plugin and choose the ZIP, or
- unzip it into
wp-content/plugins/over SFTP, then activate it from Plugins.
What activation does
Worth knowing, because it is less than people expect:
- Adds no database tables. Everything ChangeTrace stores locally lives in a handful of WordPress options, none of which are autoloaded.
- Schedules two jobs — an hourly heartbeat and a queue flush every five minutes.
- Adds one admin page, "ChangeTrace", in the main sidebar.
- Sends nothing. Every collector checks whether the site is connected and stops there.
Until you connect, the only visible change is a dismissible notice: "ChangeTrace is installed but not connected."
Updating
Updates come through WordPress like any other plugin. Your connection, queued events and change baseline all survive an update — and a deactivation, for that matter. Only disconnecting or uninstalling clears them.